Adjusting Tones With the Tone Wheels
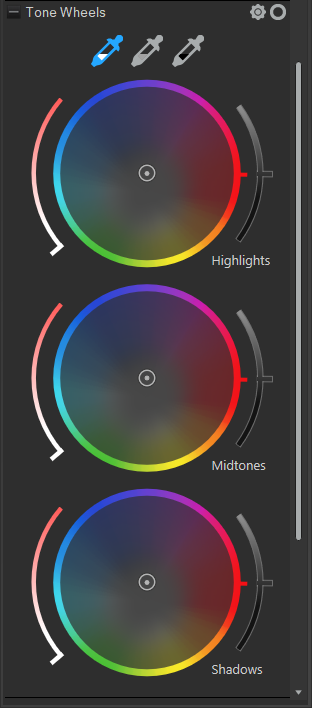
Colors in every image are split into highlights, midtones, and shadows. Use the tone wheels in the Develop Tools pane and the Editor to add color tints to certain tones in an image. There are two curved sliders with each tone wheel. The curved slider on the left is the saturation slider, the slider on the right is the brightness slider. The tone wheels themselves allow pinpointing hues to adjust.
To adjust color using the Tone Wheels:
- Open the Tone Wheels using one of the following options:
- In the Develop Tools pane, choose Tone Wheels in the Tune tab.
Note: to use the Tone Wheels in the Develop Tools pane, the Color EQ must be set to "High Quality". To ensure this, open Color EQ and select "High Quality" from the drop down menu. - Choose a hue to edit by clicking and dragging the target point within the tone wheel, or by using the relevant eyedropper on the image itself. Move the eyedropper around the image and take note of a dot, known as the hue indicator, then move around the wheel to show where the color being hovered over sits on the wheel. The three eyedroppers relate to the relevant tone wheels. Refine the saturation of the selection by clicking and dragging a selection away from the edges of the wheel, or away from the center of the wheel. The less saturated colors are in the center of the wheel and the more saturated colors are towards the edge of the wheel.
- With a hue selected, increase saturation and/or brightness for the selected tones.
- Click Done to exit the Color Wheel.
Moving the target point towards the outside of the wheel increases tone saturation. Moving it towards the inside of the wheel decreases tone saturation.
To reset any changes, right-click on either the relevant slider, or the wheel to reset all changes.