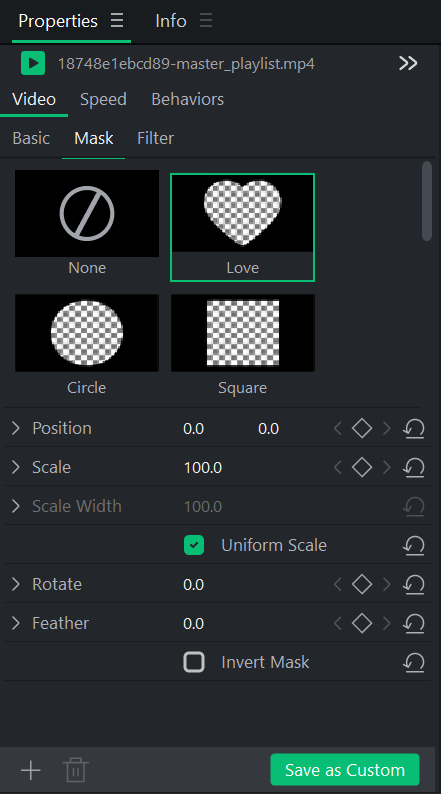
Adding Masks to Media
Video masks give you the ability to alter different areas of a single shot on their own.
To add masks to media:
- With clips added to the Timeline, select media on the Timeline, and click Mask in the Properties panel.
- Select a mask by clicking on it. The mask will be applied to the media asset currently selected. From there, you can adjust transforming aspects like position, scale, scale width, uniform scale, rotation, feathering, and inverting the mask.
Importing Masks
Masks can be imported directly into LUXEA Pro Video Editor 7. To Import your own Masks:
- Click on a Media asset on the Timeline.
- Click on Mask under Video in the Properties panel.
- Click on the + button in the bottom left of the Mask properties.
- Select the PNG to be used as a custom Mask, and press Open.
Default Masks
There are 10 default masks:
|
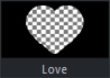
Apply a heart-shaped mask over your currently selected media clip. |
|
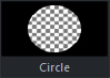
Apply a circle-shaped mask over your currently selected media clip. |
|
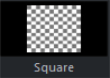
Apply a square-shaped mask over your currently selected media clip. |
|
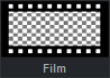
Apply a film-themed mask over your currently selected media clip. |
|
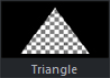
Apply a triangle-shaped mask over your currently selected media clip. |
|
|
Apply an arrow-shaped mask over your currently selected media clip. |
|
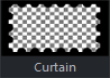
Apply a curtain-shaped mask over your currently selected media clip. |
|
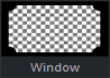
Apply a window-shaped mask over your currently selected media clip. |
|
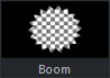
Apply an explosive-themed mask over your currently selected media clip. |
|
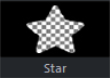
Apply a star-shaped mask over your currently selected media clip. |
If you have transformed any of the default masks, you can click on the Save as Custom button to save that preset mask into your list of masks for future use.
Custom masks can only be deleted by selecting the Mask and clicking the Delete button  in the bottom left corner.