Adjusting Media Duration and Applying Freeze Frames
When media is added to the Timeline, the assets will automatically be placed at certain intervals and at set durations. It is possible to change the duration of media assets and the gaps between media assets by changing the duration settings. Changing duration allows images to be blended into one another without the screen going black in between, or changing duration can create an end to a scene that employs a black screen for a pre-determined duration before the next media asset begins to play.
Adjusting Duration
Duration can be adjusted two ways: Cropping the clip at the duration desired, or increasing/decreasing the speed of a clip which changes the overall length.
To change media duration by cropping the beginning or end:
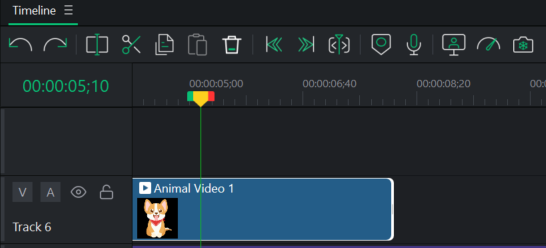
- Select the media to edit on the Timeline.
- Hover over the start or end of the media, click and drag the double arrows to adjust the length. The format is (hours:minutes:seconds;frames).
To change media duration by adjusting speed:
- Select the media to edit on the Timeline.
- Select Speed from the Properties Panel.
- Adjust the Duration or Speed setting.
Adjusting the Duration of Text, Images, Overlays, Captions and Mosaics
To change media duration:
- Select the media to edit on the Timeline.
- Hover over the start or end of the media, click and drag the double arrows to adjust the length. The format is (hours:minutes:seconds;frames).
Or:
- Right-click on the Media asset on the Timeline and select Duration from the context menu.
Using Ripple Edit Duration
Ripple Edit duration is a setting that maintains gaps between media. By default, Ripple Edit duration is enabled, allowing for the duration of media to be changed without changing the gaps created after the media asset. For example, in the case where an image is followed by a four second gap, then a video clip, lengthening the duration of the image, with Ripple Edit duration enabled, will not reduce the four second gap that resides between the image and video. Without Ripple Edit duration enabled, by extending the duration of the image the duration of the following gap would be reduced.
To disable Ripple Edit when making changes to duration, disable the Ripple Edit checkbox in the Properties panel within the Speed section.
Freeze Frames
Freeze frames are used to extend the duration of specific frames of a media asset.
When adding a Freeze Frame to a media asset, the selected clip will expand to the chosen duration. If there is not enough space on the Timeline to the right of the clip to accommodate the expansion, Freeze Frame will be added to the Timeline, with Media assets shifting to the right to accommodate.
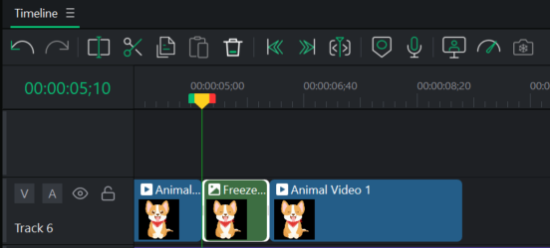
To create a freeze frame:
- With clips added to the Timeline, place the Playhead on the frame of the target video, right-click and select Freeze Frame from the context menu, or press Shift + R.
- Click OK. The freeze frame is added to the target media on the Timeline.