You are here: Creating with Photo Editor > Creating Vignettes and Other Types of Masks > Editing and Removing a Custom Mask
Editing and Removing a Custom Mask
One of the advantages of creating a mask is that you can edit it at
any time.
To Edit a Mask:
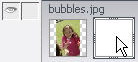
Indicate that
you want to edit the mask by double-clicking the mask thumbnail in the
Object Palette or clicking the Edit Mask icon  at the bottom
of the Object Palette.
at the bottom
of the Object Palette.
To Uncover
a Masked Area so That it is Visible Again:
- Click
a painting tool, such as the Paintbrush Tool or the Airbrush Tool.
- Click
the foreground color box in the Color Picker
 and select the color white.
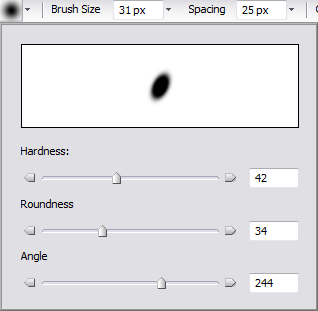
- Select the
brush options you would like in the Properties bar.
- Paint
over the areas of the photo that you want to uncover and make visible.
- When you have
finished editing the mask, click the mask thumbnail in the Object Palette
or click the Exit Edit Mode icon
 at the bottom of the
Object Palette. You can see the mask in the mask thumbnail in the Object
Palette.
at the bottom of the
Object Palette. You can see the mask in the mask thumbnail in the Object
Palette.
To Remove a Mask:
- Click the mask
thumbnail in the Object Palette.
- In the Menu bar, click Image | Mask
| Remove Mask.
See Also: