You are here: Creating with Photo Editor > Creating Vignettes and Other Types of Masks > Cutting a Shape Out of a Photo
Cutting a Shape Out of a Photo
Photo Editor has various ways that you can change the shape of a photo. You can use the Cookie Cutter Tool to quickly crop an image with preset shapes. If you want a custom design, use the Shape Tool or create a vector shape on top of the photo and trim it with the press of a button.
To Cut a Shape Out of a Photo with the Cookie Cutter Tool:
- Select the Selection Tool and click the photo.

- In the Toolbar, under Create, click the Cookie Cutter Tool.

- In the Properties
bar, from the Shape drop-down,
select a Category, such as Celebrations or Home.
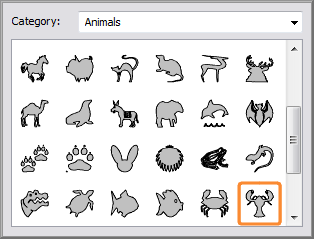
- Select a shape
in that category.
- Do one of the
following:
- Click
Fit to Objects to automatically
position the cookie cutter shape over the photo.
- Click
and drag across the work area. Press and hold the Shift
key to add a shape that is an equal width and height.
- Click and drag
the cookie cutter shape until you are satisfied with its placement over
the photo. If desired,
click and drag the shape handles to resize the shape.
- Click Apply.
The background behind the cookie cutter shape is the work
area background color. To change the work area background color click
File | Define Work Area
To Cut a Shape Out of a Photo with Trim to Shape:
- In the Toolbar, under Create, click the Shape Tool or another vector shape tool from the Tool drop-down.

- Create the shape over the photo and drag until you are satisfied with its placement over
the photo.
- Hold down the Shift key and select both the photo and the shape.
- In the Properties
bar, click the Trim to Shape button.

Unlike the Cookie Cutter Tool, the Trim to Shape button automatically cuts the image. Make sure the shape is in the desired position before clicking the button.
See Also: