Adding and Removing Media
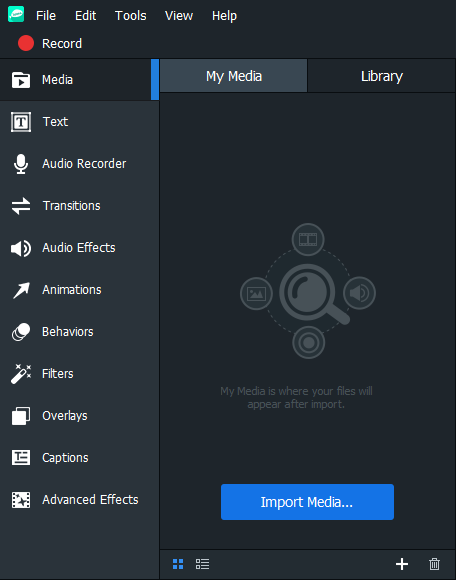
Add media from the hard drive to My Media, and then place the file on the Timeline for editing and production. File types include video, image, and sound. These files are referred to as clips or media. There are two tabs in the Media section which act as media repositories: My Media, and Library. The My Media tab contains files imported to use in projects. The Library tab contains content from Content Packs that have been downloaded and imported from the ACDSee website. To find out more about Content Packs, see Content Packs.
- Click the Media tab or press M.
- To add media to My Media, do one of the following:
- Select File | Import | Media... from the main menu.
- Click the Import Media button at the bottom right of the My Media pane.

- Click the Import Media... button in the My Media pane.
- Double-click an empty space in the My Media tab to import media files.
- Press Ctrl + M.
- Drag media files from Windows Explorer directly into the My Media pane or onto the Timeline.
- In the Add Media Files dialog, browse to and select media, or press Ctrl + click to select specific files, Shift + click to select multiple files, or click + drag around files to select multiple files.
- Press Open.
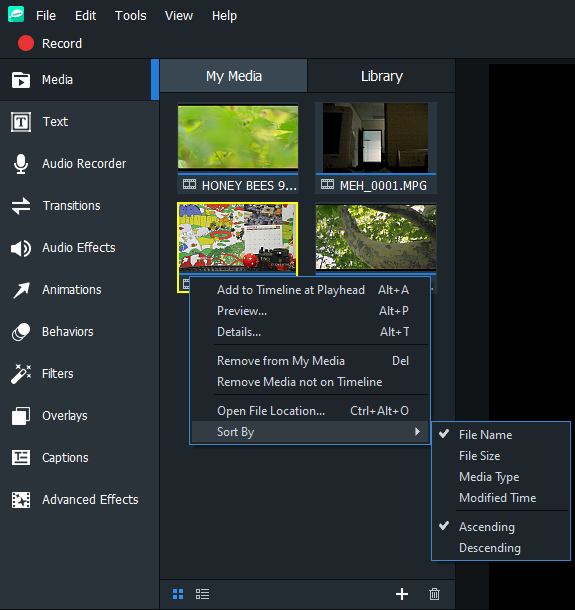
Use the Sort menu to sort added media by File Name, File Size, Media Type, or Modified Time. Right-click a file to access the context menu, then select Sort By.
To add media to the Timeline, do one of the following:
- Right-click the media to be added to the Timeline.
- Select Add to Timeline at Playhead from the context menu. Continue this action for all media to be added. Select and drag the edge of the clip to specify the desired duration.
Or:
- Select the media to be added to the Timeline.
- Drag media onto the desired location on the Timeline. Select and drag the edge of the clip to specify the desired duration.
Or:
- Select the media to be added to the Timeline.
- Press Alt + A. The clip will be added to the Timeline at the Playhead's current position.
Move multiple clips from My Media to the Timeline in one step by dragging the cursor over the clips and dragging them onto the Timeline. Or, hold Shift while selecting clips, then drag the clips onto the Timeline.
The Timeline makes it easy to keep track of a video's duration at a glance. Hover the cursor over a clip on the Timeline to see its duration data. Please note that the first five digits represent time. However, the last two digits (after the semi-colon) represent frames, rather than milliseconds. There are up to 60 frames per second.
To remove media from My Media:
To remove media from My Media, do one of the following:
- Right-click the media to be removed. Select Remove from My Media from the context menu.
- Select the media in My Media and click the Delete button.
To remove all media from My Media, do one of the following:
- Select Edit | Remove All from My Media from the menu.
- Press Ctrl + Alt + R.
To remove all media not added to the Timeline:
All media can be removed from My Media that have not been added to the Timeline.
Right-click anywhere in My Media and choose Remove Media not on Timeline from the context menu.
To remove media from the Timeline:
- Remove an individual clip by right-clicking it on the Timeline and selecting Delete.
- To remove all of the clips on the Timeline, select Edit | Remove All from Timeline from the menu.
Do one of the following:
- Right-click the file and select Preview... from the context menu.
- Double-click a file in My Media.
- Select the clip and press Alt + P.
Press F to display the preview full screen, or press the Full Screen button. 