Writing a Plug-In
There are a couple different ways you can get started with ACDSee plug-in development. While you can modify one of the provided sample plug-ins from the "Samples" folder in this SDK, these instructions cover how to write a plug-in from the beginning.
Click images to view in full size.
To Write a Plug-In from Scratch:
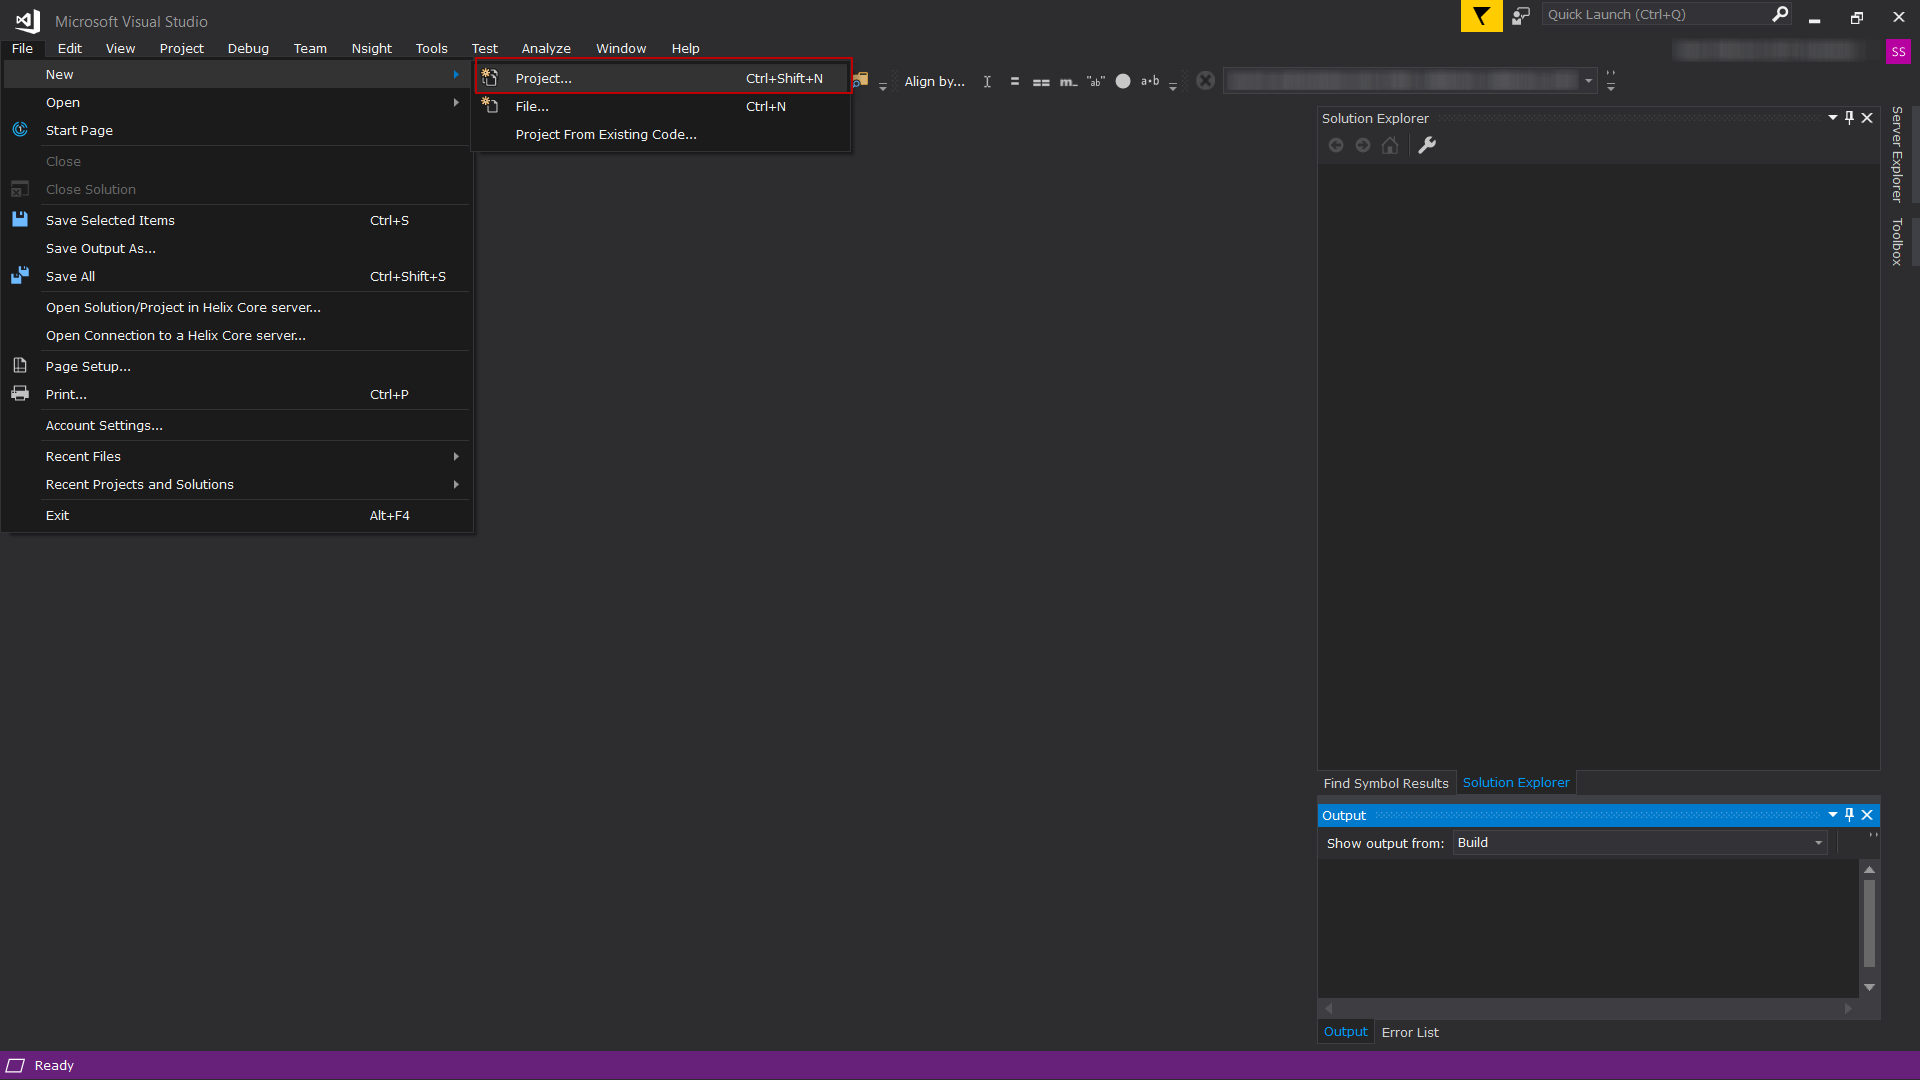
- Create a DLL project in Microsoft Visual Studio.
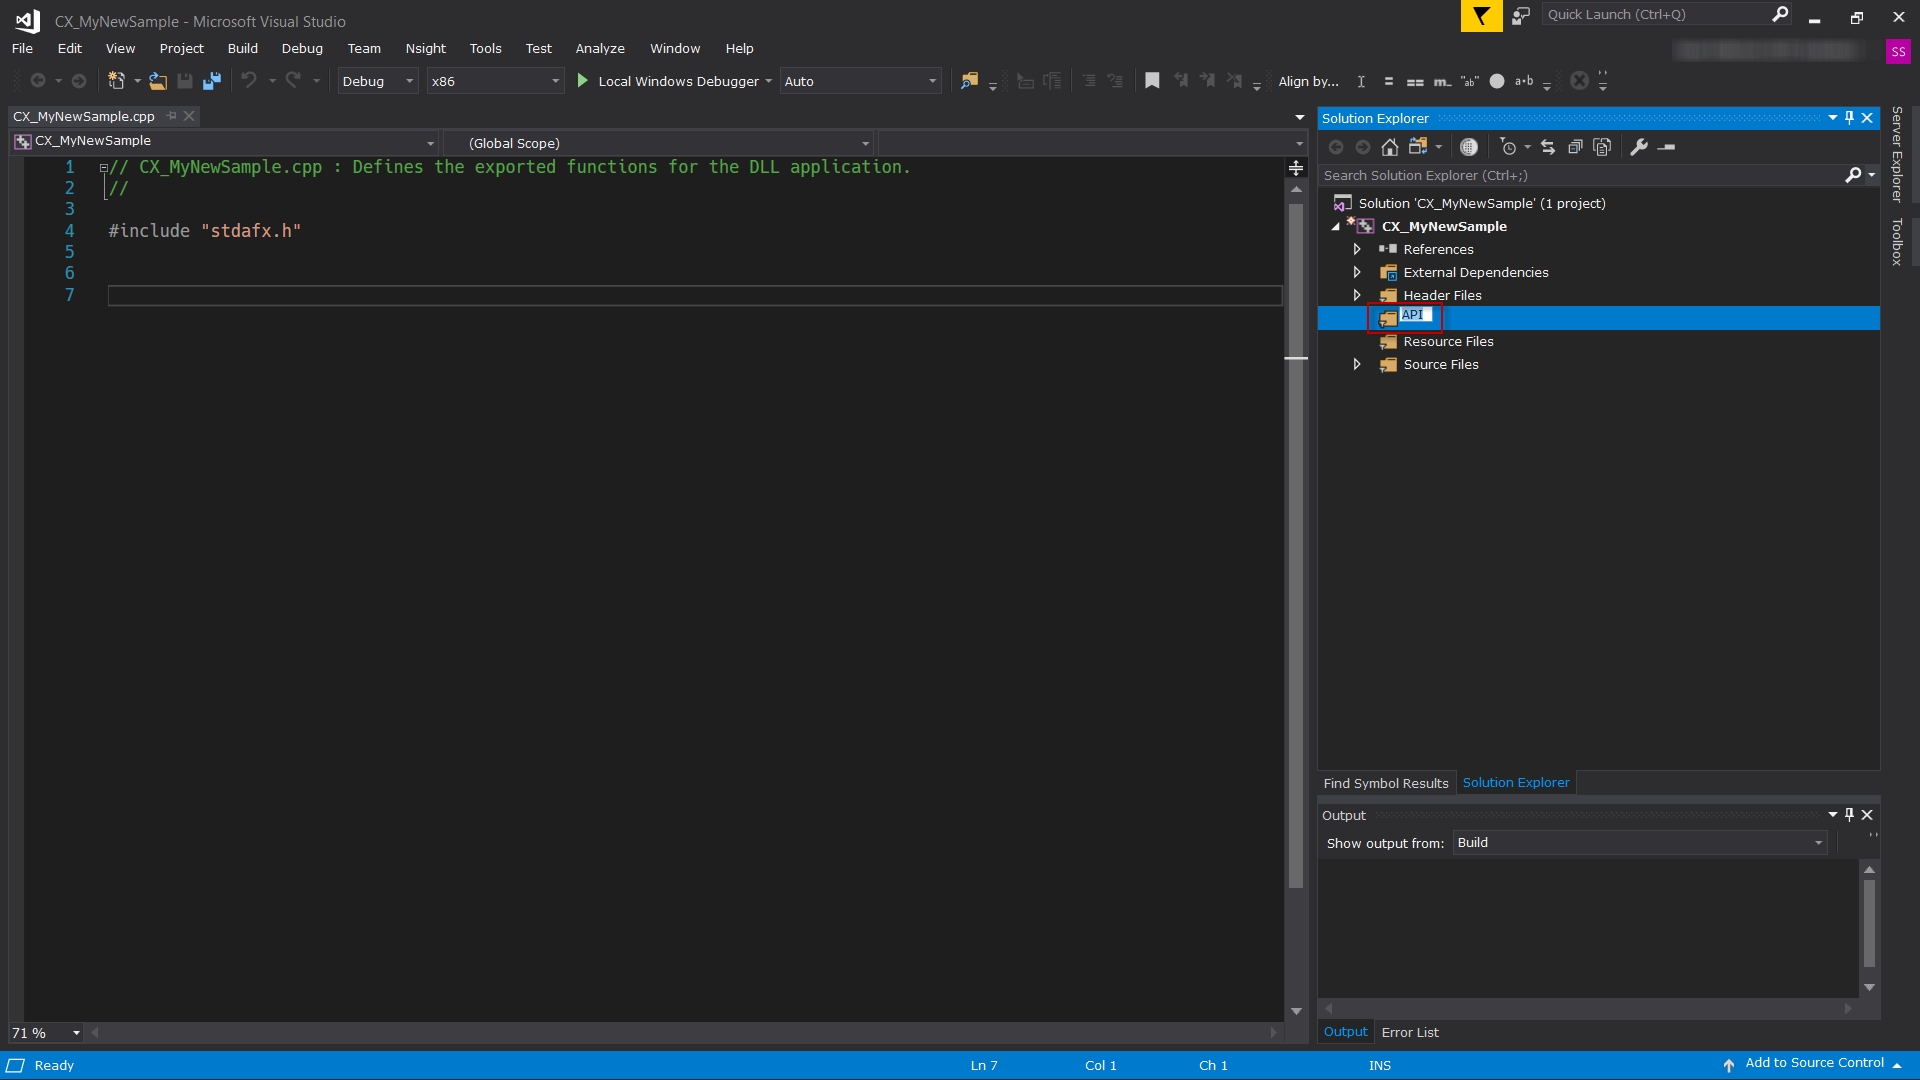
- Now that you have created your project, the first step is to add the ACDSee plug-in API header files to the project. First, add a new filter to which the header files can be added.
- Next, rename your new filter to "API", or a name of your choosing.
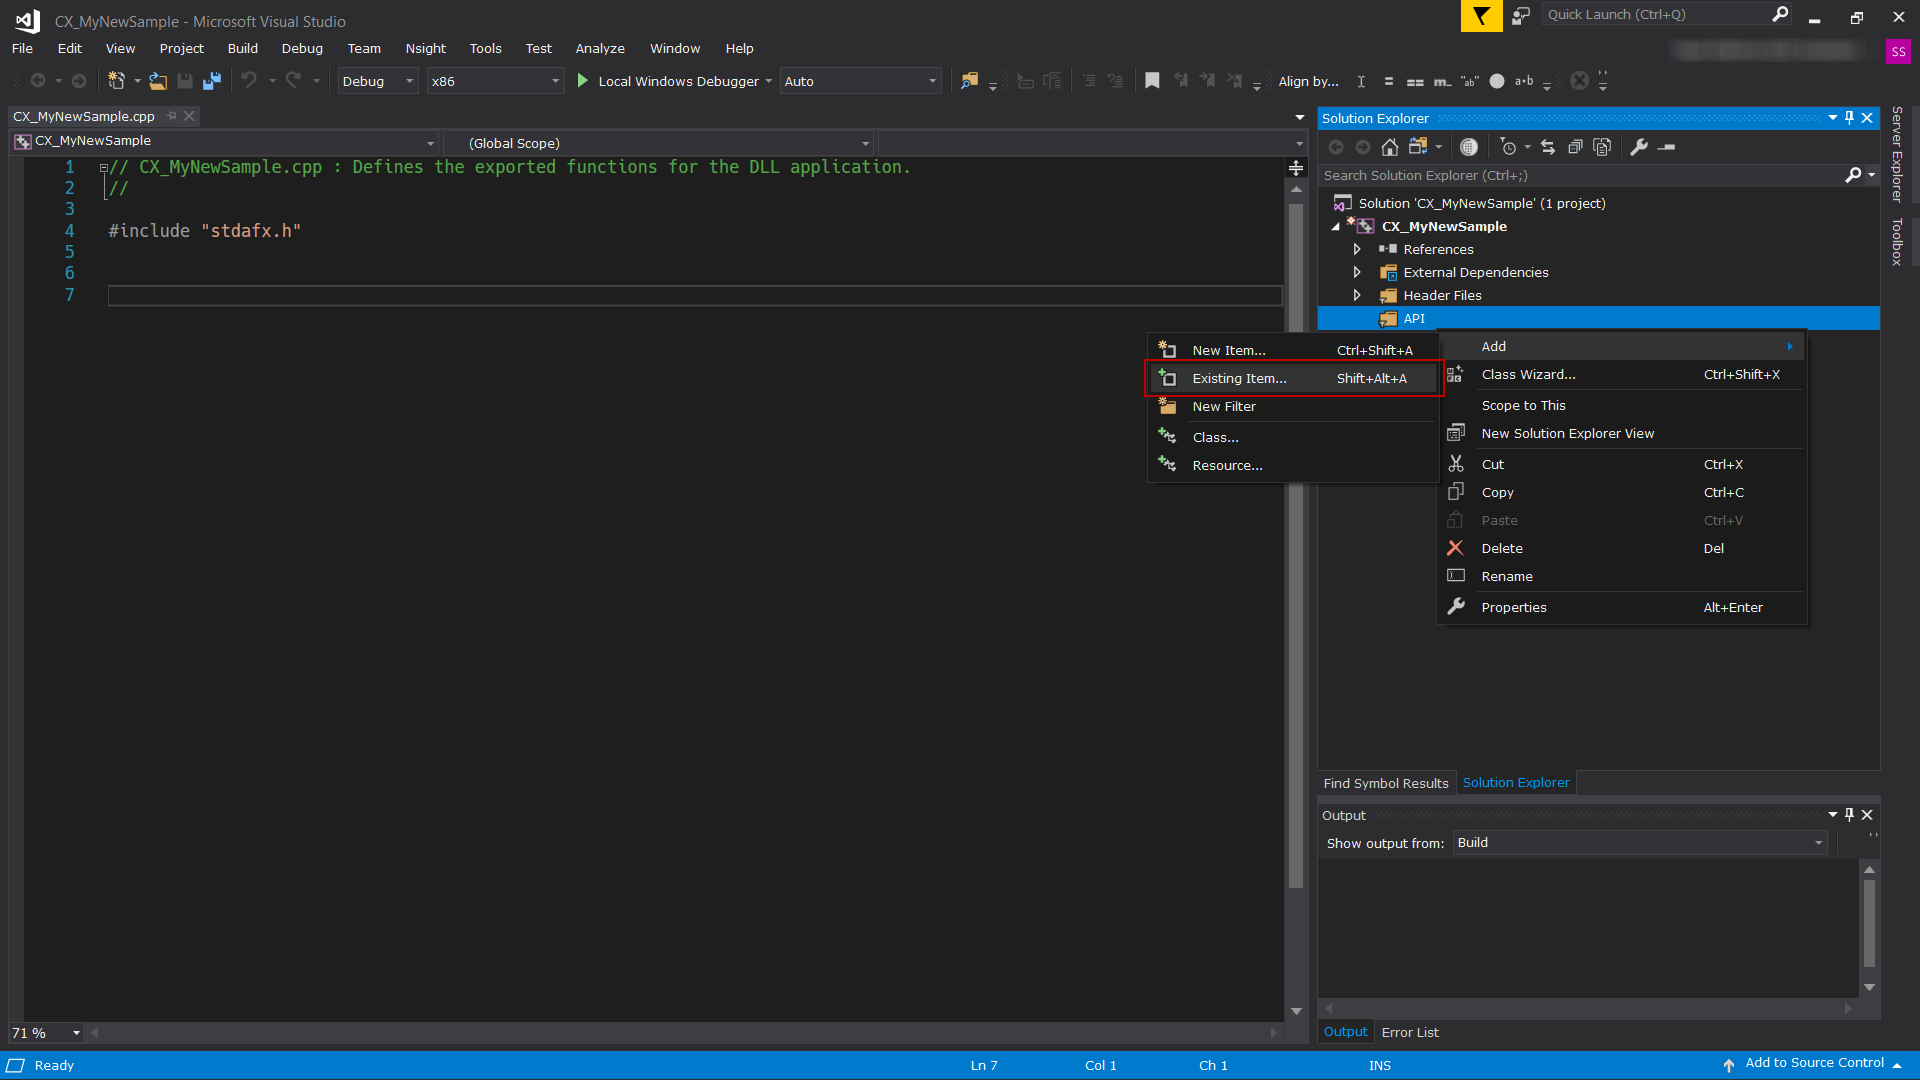
- Next, add the API header files to the project. Right-click your new filter and choose Add | Existing Item.
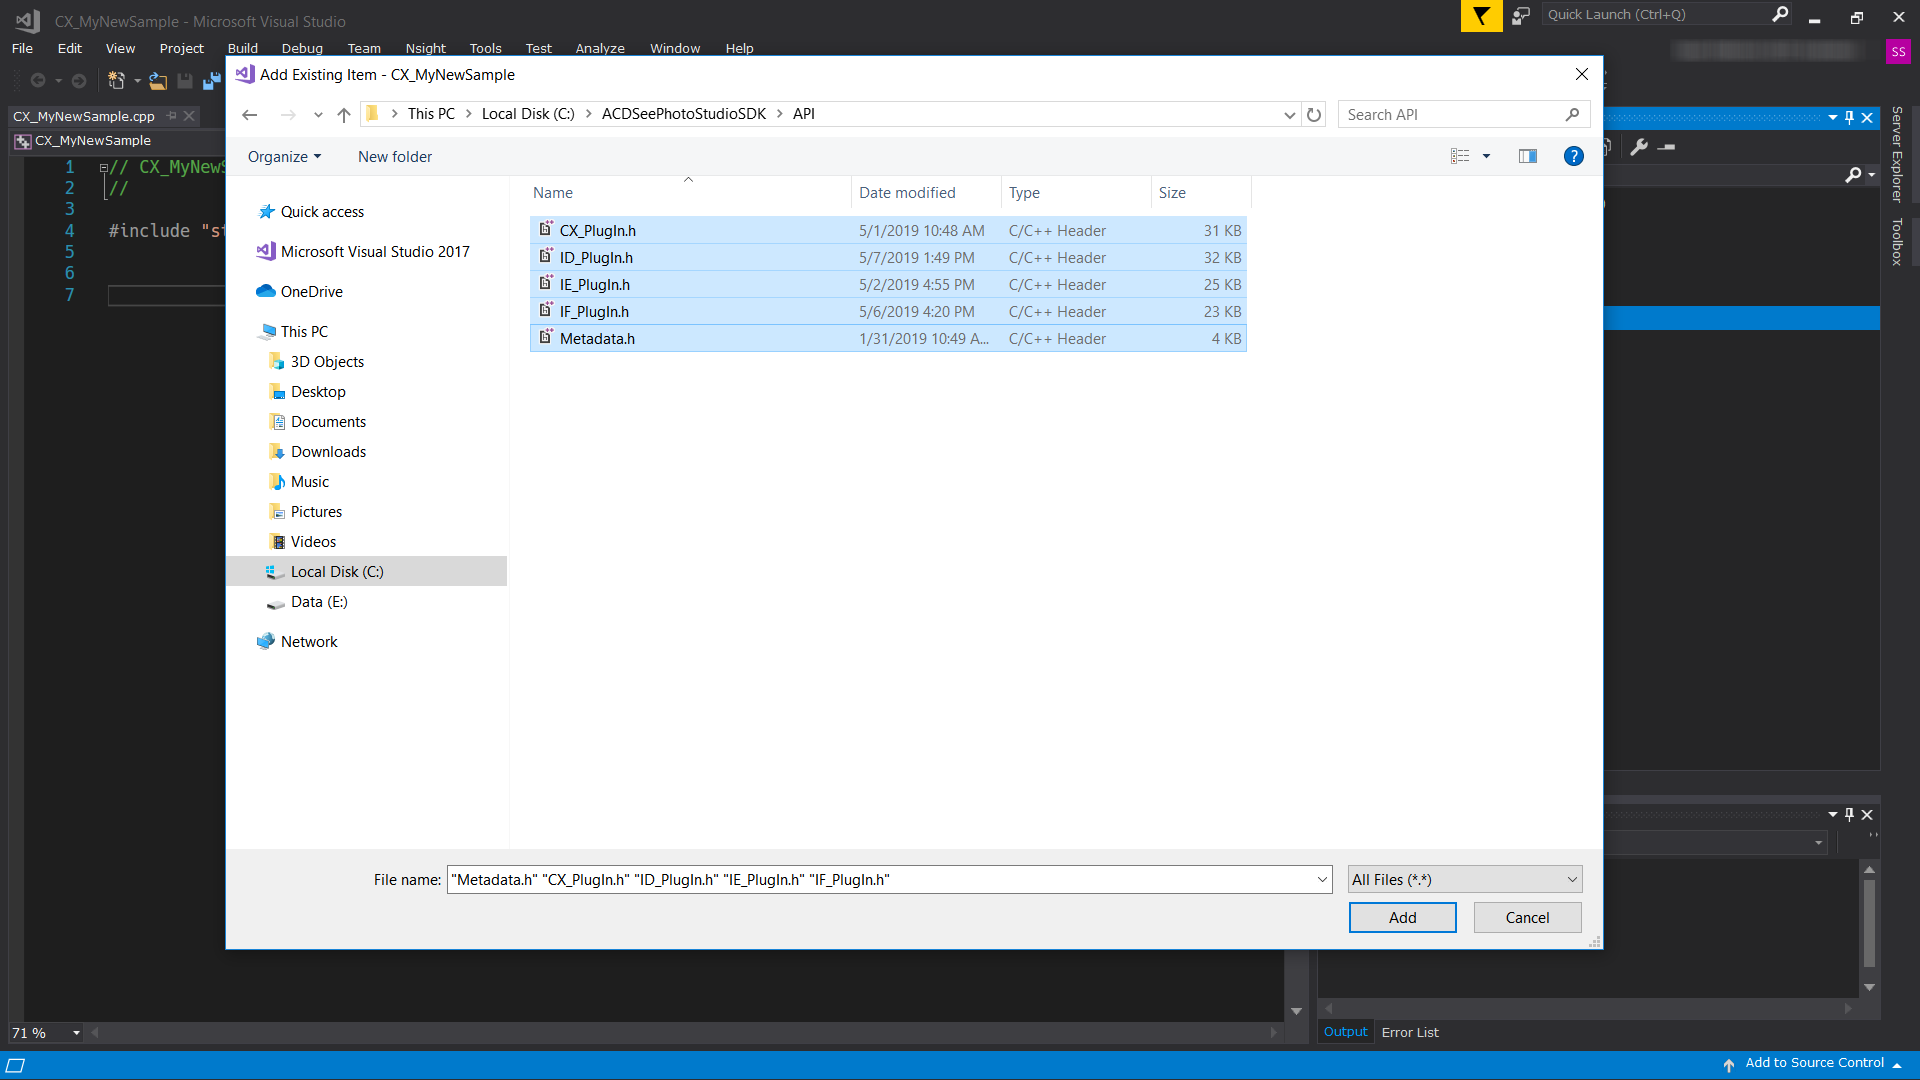
- Navigate to the API folder in the SDK, and add the header files. If you are working with Metadata, you will want to add at least Metadata.h, and you will want to review the rest of the files in the Metadata folder.
- Next, you will need to setup your .dll project to export the API-required functions that make up an ACDSee plug-in. Add a new file with the extension ".def" and fill it out as displayed here:
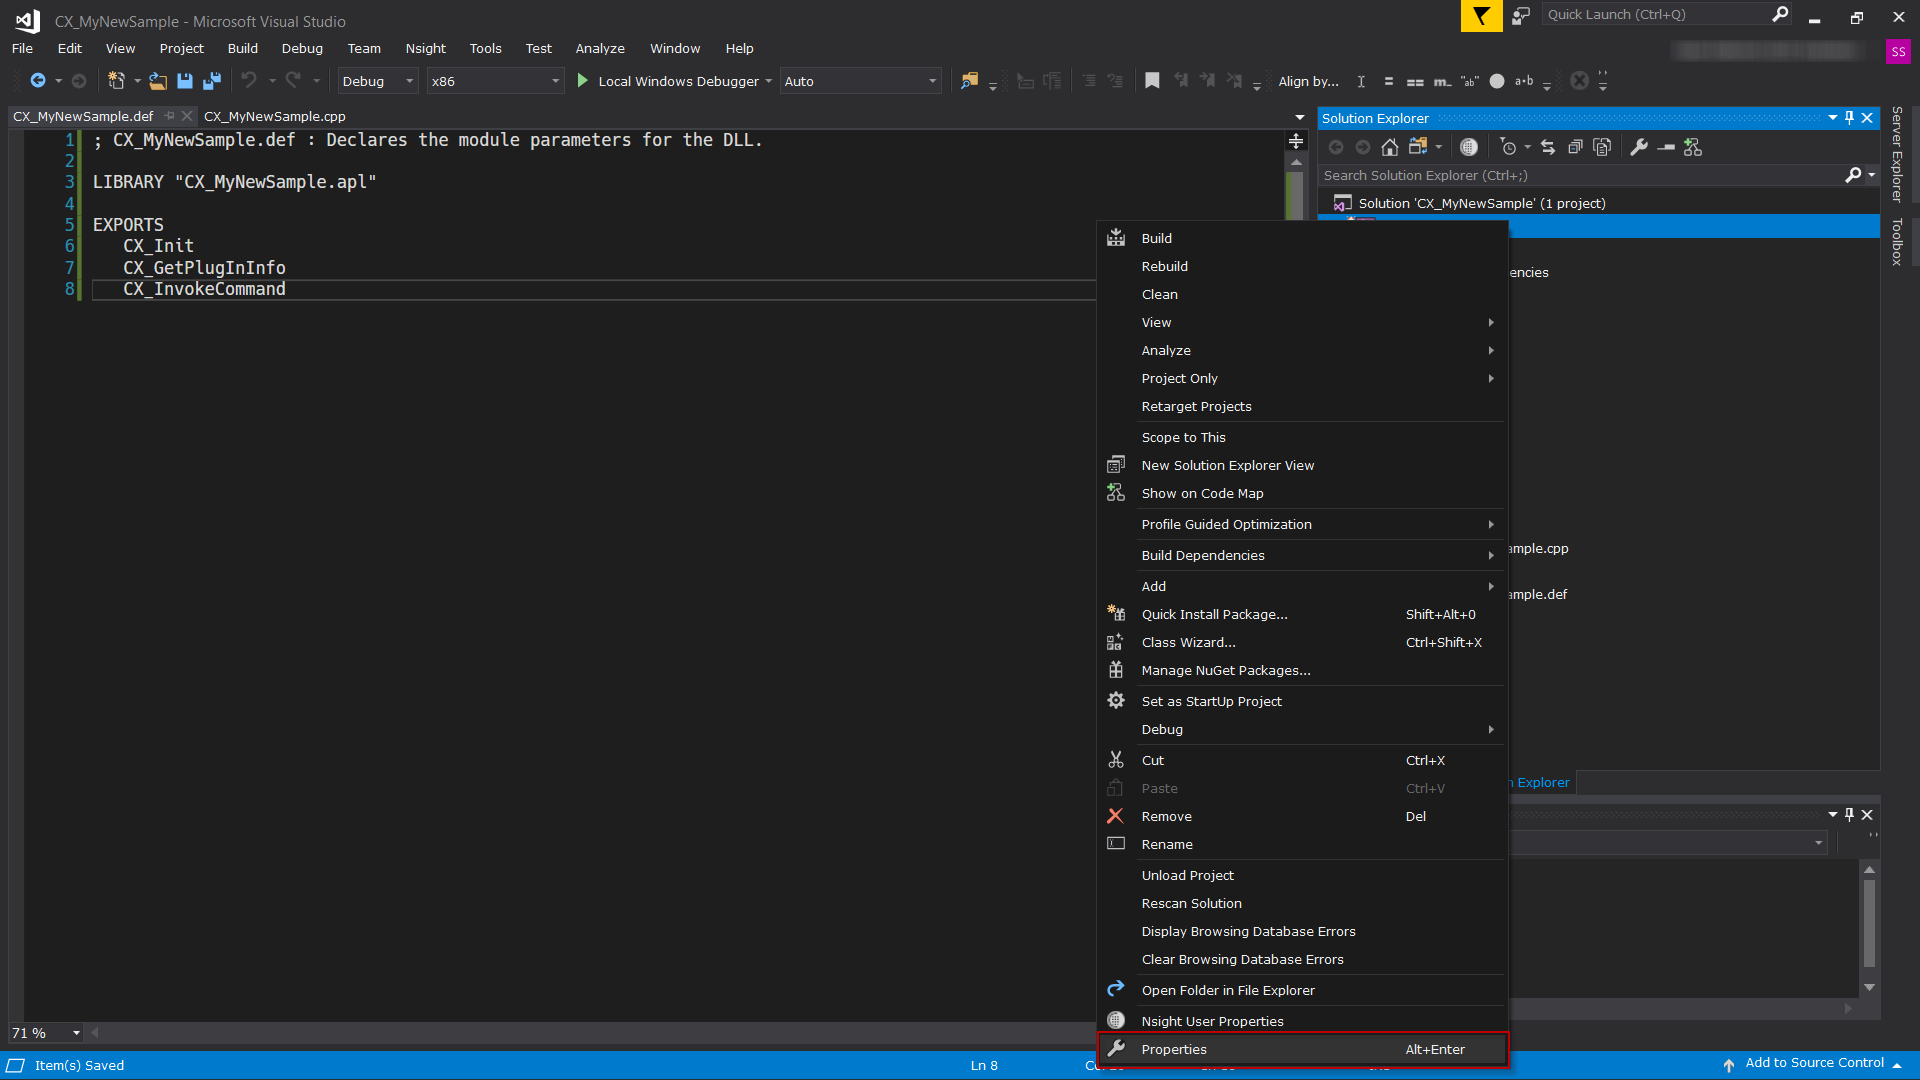
- Modify the Visual Studio project to use your new .def file. Right-click your project in the Solution Explorer and select Properties.
- In the Properties dialog, select All Configurations from the Configuration drop-down menu. Select All Platforms from the Platform drop-down menu. On the left menu, choose Linker | Input. Enter your .def file in the Module Definition File field.
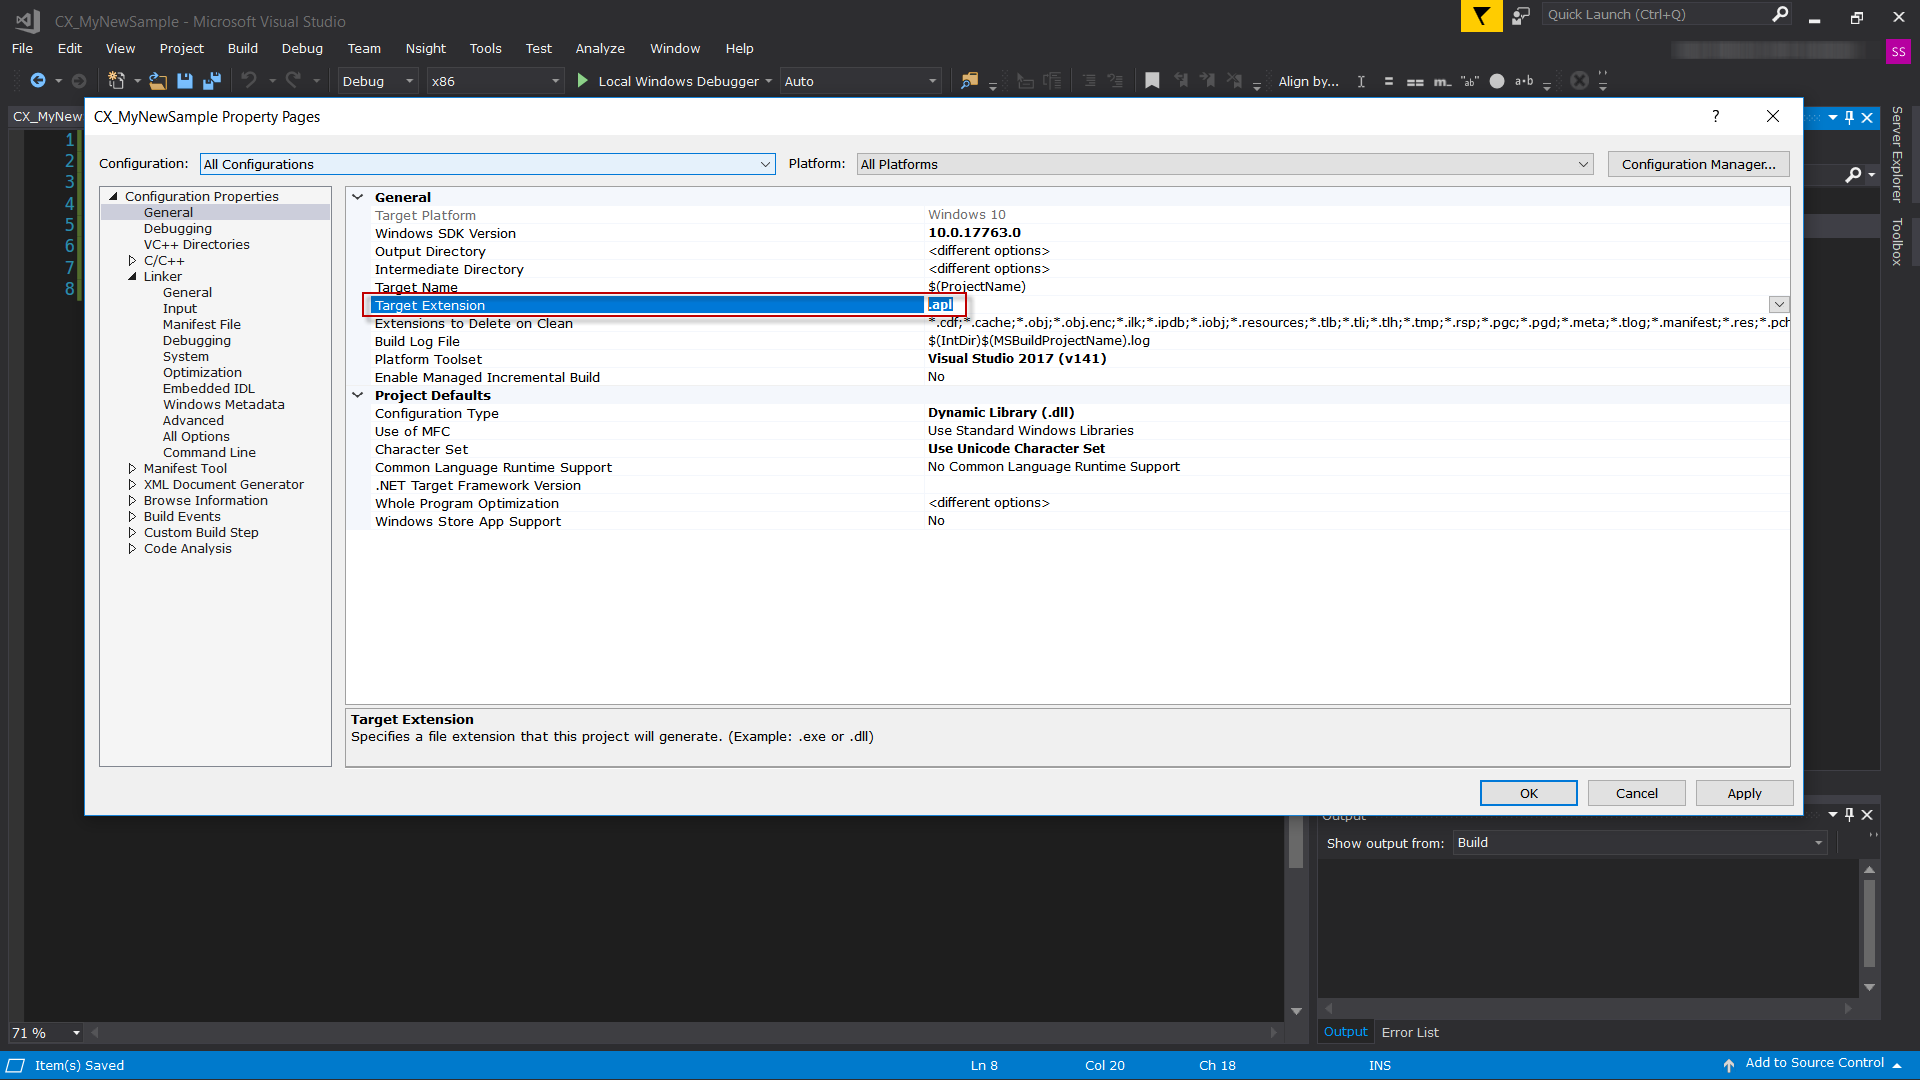
- While in the Properties dialog, change the output file extension to .apl to signify that you are building an ACDSee plug-in. On the left menu, choose Configuration Properties | General. Change the Target Extension file to .apl. In Visual Studio 2019, this option is located in Configuration Properties | Advanced.
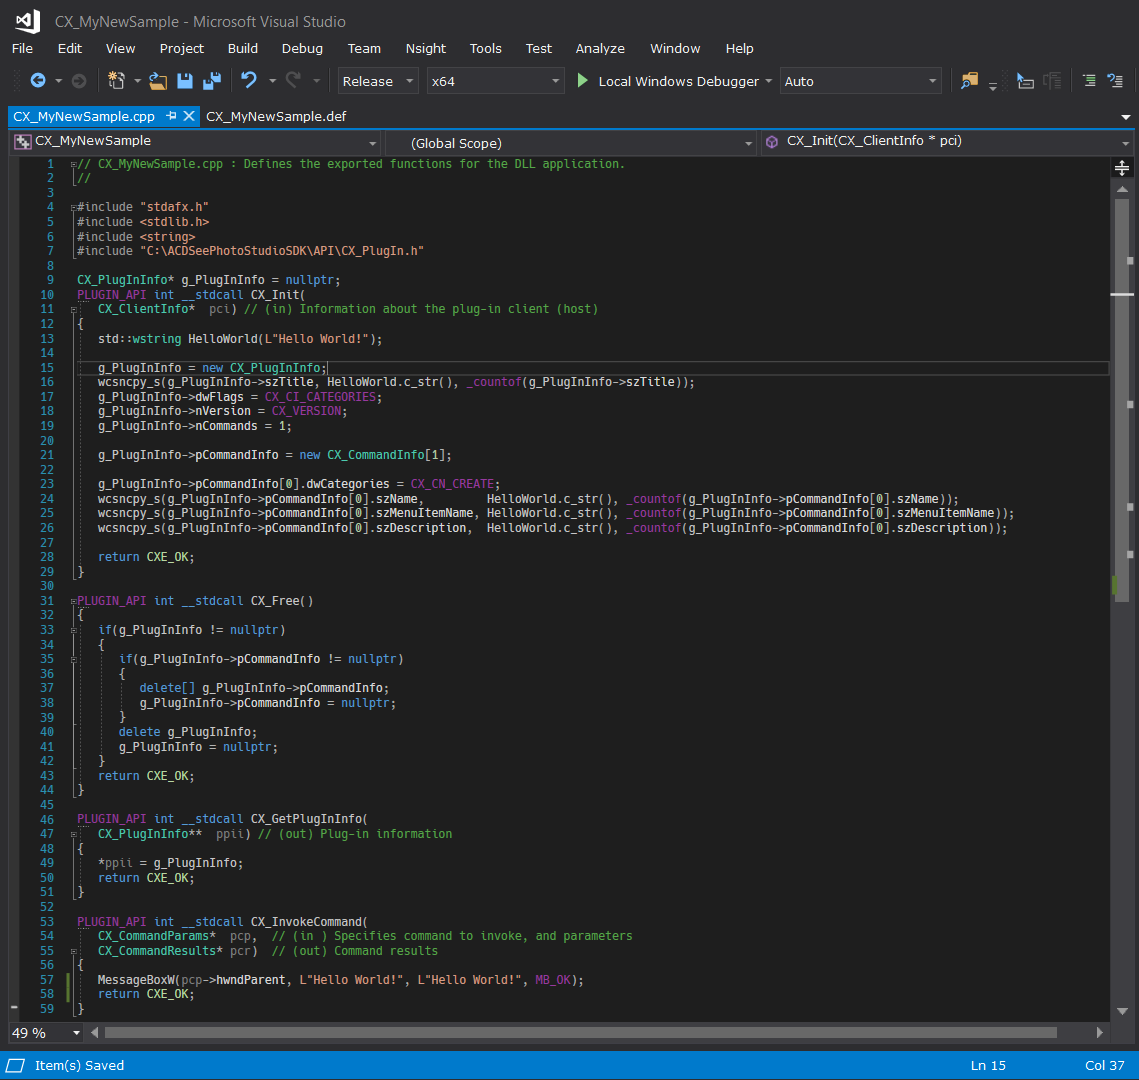
- Next, you will need to implement the exported functions. The following image demonstrates a bare minimum implementation of a command extension plug-in which, when run, simply pops up a message box declaring, "Hello World".
- Next, you will build your plug-in. In order to build a release version for 64-bit ACDSee, make sure that you have the build configuration Release - x64 selected.
- Copy your built plug-in to the PlugIns folder of your ACDSee installation directory.
- Launch ACDSee to ensure that your new plug-in has been loaded and added to the application. (See CX_CN_* flags for more information about where the plug-in will be located.)
If you are using an alternative IDE, then set up your build configuration to build to a DLL. Make sure to choose a name and location for your new plug-in project.


Code Snippet:
; CX_MyNewSample.def : Declares the module parameters for the DLL.

LIBRARY "CX_MyNewSample.apl"

EXPORTS
    CX_Init
    CX_GetPlugInInfo
    CX_InvokeCommand
    CX_Free
For this example, we are exporting CX_Init, CX_GetPlugInInfo, CX_InvokeCommand, and CX_Free. You can find more information on command extension plug-ins here.

Code Snippet:
// CX_MyNewSample.cpp : Defines the exported functions for the DLL application.
//
#include "stdafx.h"
#include <stdlib.h>
#include <string>
#include "C:\ACDSeePhotoStudioSDK\API\CX_PlugIn.h"

CX_PlugInInfo* g_PlugInInfo = nullptr;

PLUGIN_API int __stdcall CX_Init(
    CX_ClientInfo*  pci) // (in) Information about the plug-in client (host)
{
    std::wstring HelloWorld(L"Hello World!");

    g_PlugInInfo = new CX_PlugInInfo;
    wcsncpy_s(g_PlugInInfo->szTitle, HelloWorld.c_str(), _countof(g_PlugInInfo->szTitle));

    g_PlugInInfo->dwFlags = CX_CI_CATEGORIES;
    g_PlugInInfo->nVersion = CX_VERSION;
    g_PlugInInfo->nCommands = 1;
    g_PlugInInfo->pCommandInfo = new CX_CommandInfo[1];
    g_PlugInInfo->pCommandInfo[0].dwCategories = CX_CN_CREATE;


    wcsncpy_s(g_PlugInInfo->pCommandInfo[0].szName,         HelloWorld.c_str(), _countof(g_PlugInInfo->pCommandInfo[0].szName));
    wcsncpy_s(g_PlugInInfo->pCommandInfo[0].szMenuItemName, HelloWorld.c_str(), _countof(g_PlugInInfo->pCommandInfo[0].szMenuItemName));
    wcsncpy_s(g_PlugInInfo->pCommandInfo[0].szDescription,  HelloWorld.c_str(), _countof(g_PlugInInfo->pCommandInfo[0].szDescription));

    return CXE_OK;
}

PLUGIN_API int __stdcall CX_Free()
{
    if(g_PlugInInfo != nullptr)
    {
        if(g_PlugInInfo->pCommandInfo != nullptr)
        {
            delete[] g_PlugInInfo->pCommandInfo;
            g_PlugInInfo->pCommandInfo = nullptr;
        }

        delete g_PlugInInfo;
        g_PlugInInfo = nullptr;
    }
    return CXE_OK;
}

PLUGIN_API int __stdcall CX_GetPlugInInfo(
    CX_PlugInInfo**  ppii) // (out) Plug-in information
{
    *ppii = g_PlugInInfo;
    return CXE_OK;
}

PLUGIN_API int __stdcall CX_InvokeCommand(
    CX_CommandParams*  pcp,// (in ) Specifies command to invoke, and parameters
    CX_CommandResults* pcr)// (out) Command results
{
    MessageBoxW(pcp->hwndParent, L"Hello World!", L"Hello World!", MB_OK);
    return CXE_OK;
}

.PNG)
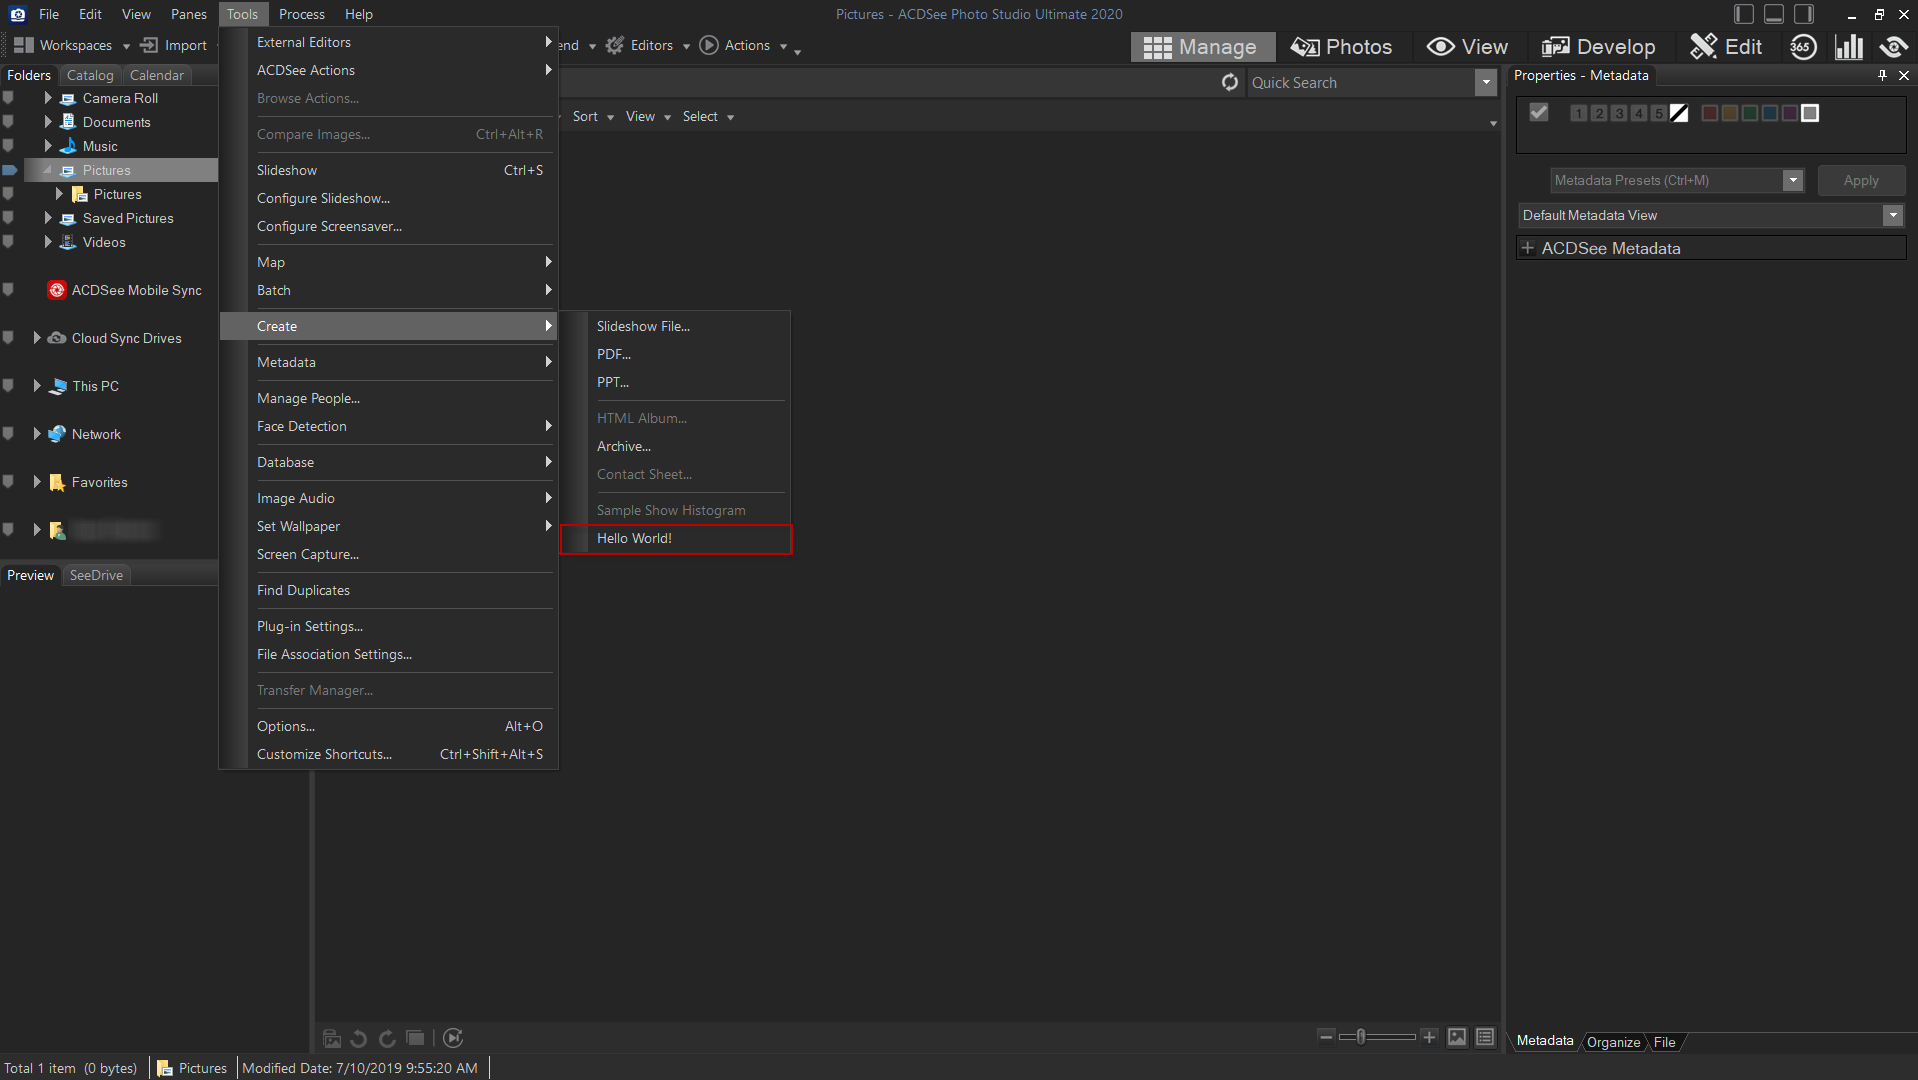
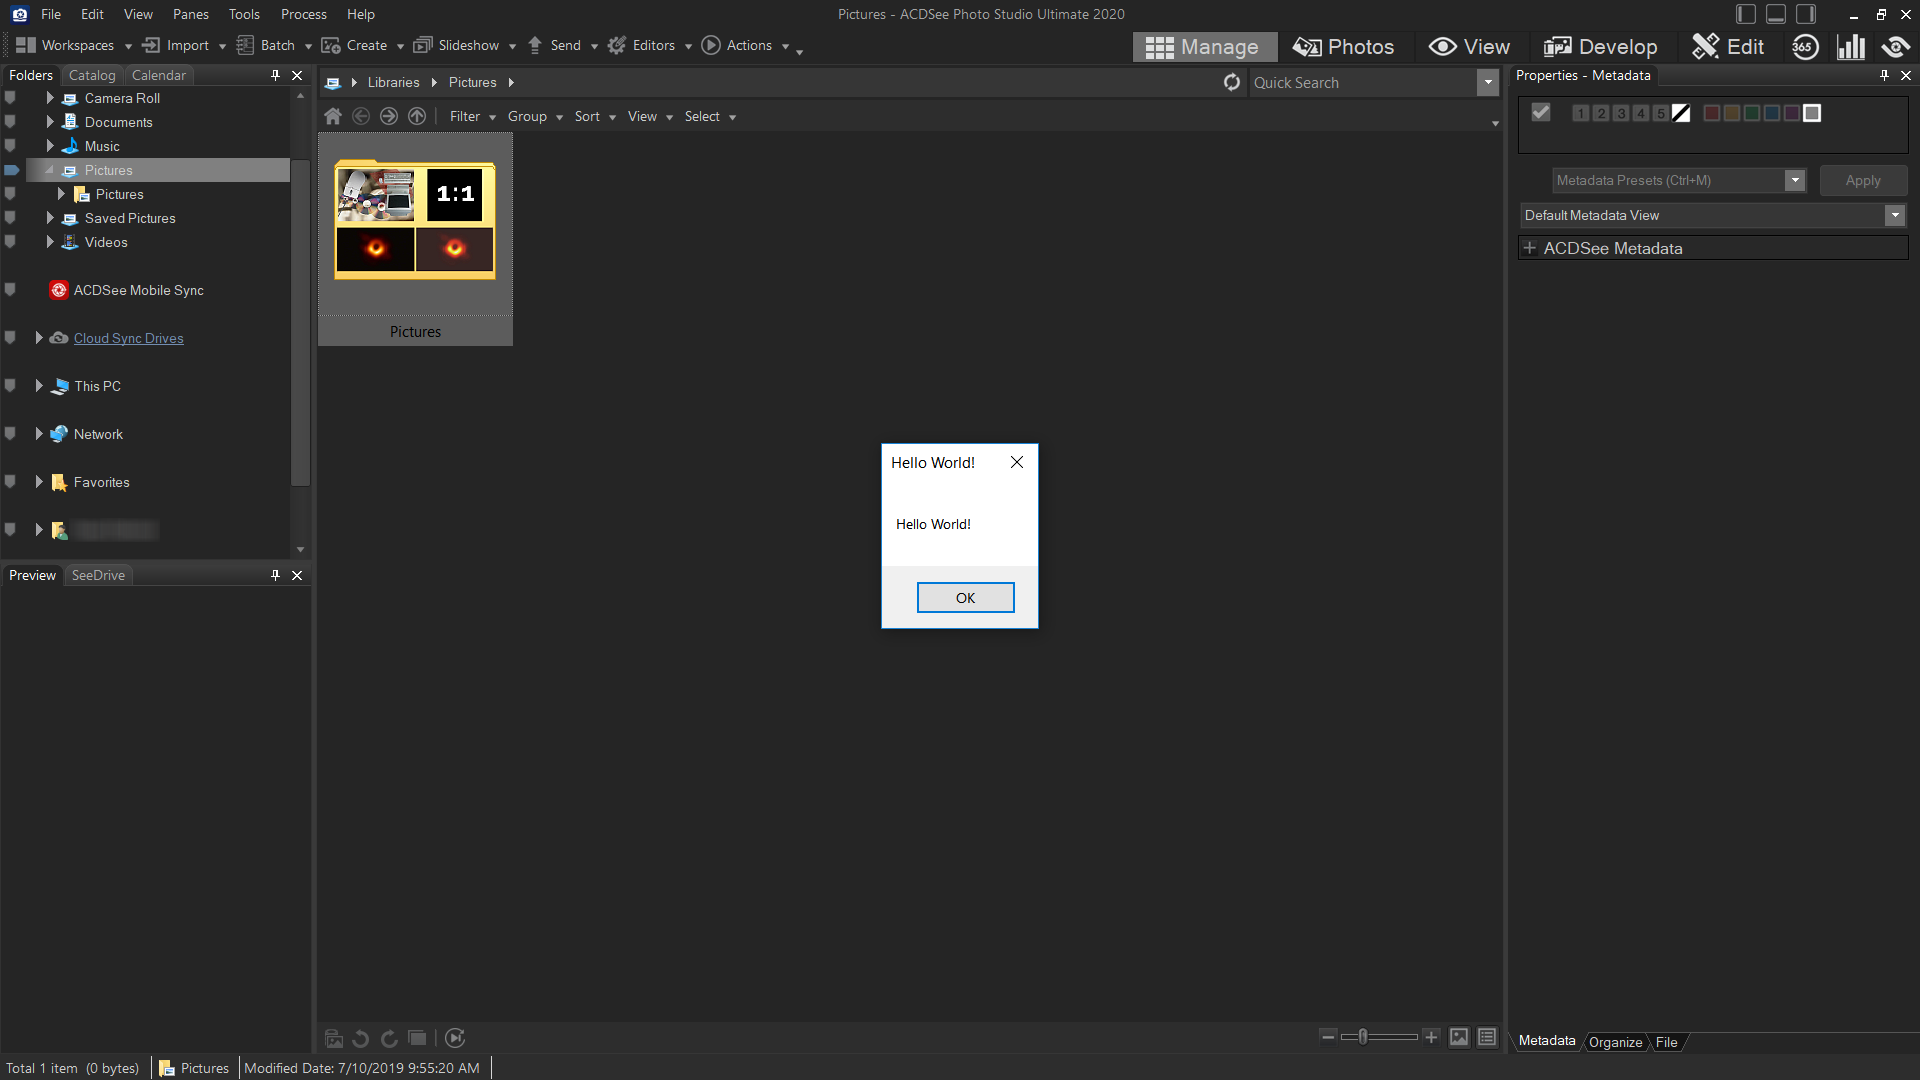
Success!