Audio and Voice Recordings
Narration or sounds can be recorded using a microphone and incorporated into a video project by adding the audio files to the Timeline.
To make a recording:
- Click File | Record | Record Voiceover tab, or press Alt+R.
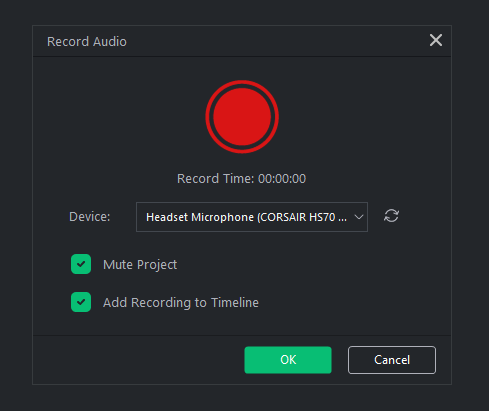
- Select a desired recording device from the drop-down menu.
- To begin recording, click the Audio Recorder button
 . This will start the timer.
 - Once recording, a square symbol will appear over the record button. To stop recording, click the Audio Recorder button
 again.
 Audio recordings are automatically placed on the Default Audio Track. If the Default Audio Track is otherwise occupied, then a new Track will be created below it with the recording added there.
- When finished taking voice recordings, press Ok.
- The recorded clip is saved to the Media panel. Files can be modified and renamed in the Media panel.
When recording, the audio clip will appear on your Timeline in real time as you record.
Mute Project
When recording, you can choose to have project audio included in your recording, or isolate the recording so only your Microphone is picked up. By selecting the Mute Project option and then recording, LUXEA Pro Video Editor 7 will temporarily mute the audio output for any other clips on your Timeline, ensuring that only your designated Microphone is picked up.
To add a recorded clip to a project:
Perform one of the following:
- In the Media panel select a recorded clip and drag it onto a desired location on the Timeline.
- Check "Add Recording to Timeline" before recording to have the recording automatically applied to the Timeline when finished.
To remove an audio clip from the Timeline:
- Right-click the audio clip on the Timeline and select Delete from the context menu.
- Select the audio clip on the Timeline and press the Delete key.
- Select the audio clip on the Timeline and click the Delete button.