Adding and Removing Media
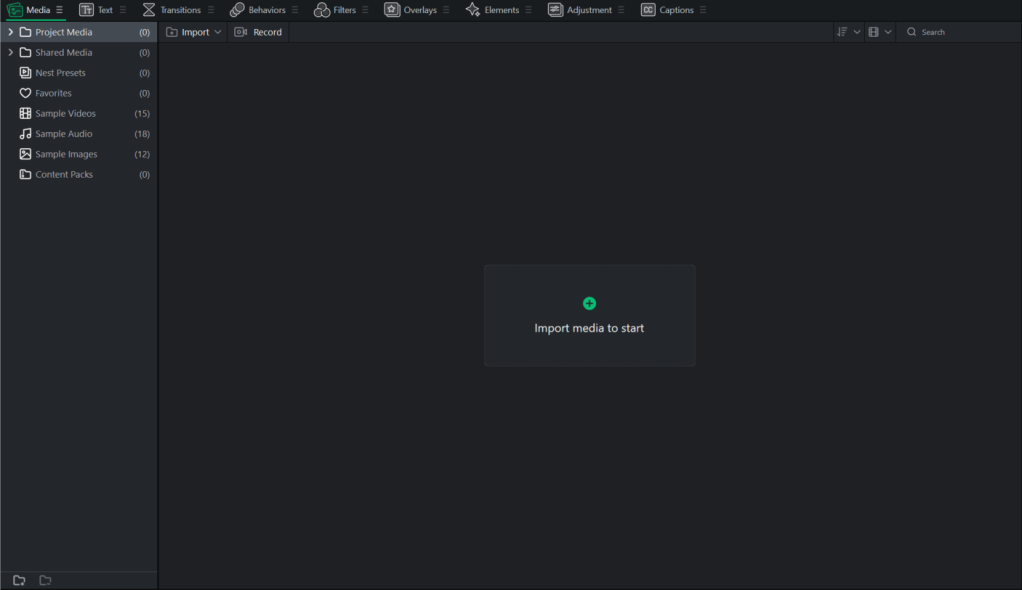
Add media from the hard drive to the Media Panel, and then place the file on the Timeline for editing and production. File types include video, image, and audio. These files are referred to as clips or media assets. The Media Panel contains a file tree with sections for Project Media, Shared Media, Favorites, Sample Videos, Sample Audio, Sample Images, and Content Packs. To find out more about Content Packs, see Content Packs.
Media, Text, Transitions, Behaviors, Filters, Overlays, and Elements contain a file tree to keep track of your assets, both pre-installed and from Content Packs.
Project Media vs Shared Media: Knowing the Difference
There are two types of Media folders you can import Media Assets into: Project Media, and Shared Media.
Project Media represents Media Assets imported into the current project. Assets visible here won't be visible in other projects.
Shared Media represents Media Assets imported into the program, allowing for use across every project. Assets visible here will be visible in other projects.
To Add Media to the Media Panel:
- Click the Media panel.
- To add media to the Media panel, do one of the following:
- Select File | Import | Import Media File or Import Media Folder from the main menu.
- If no media files have been imported, click a folder under Project Media in the file tree on the left side and click the Import media to start button in the Media panel.
- Double-click an empty space while clicked onto a Project Media folder to import media files.
- Drag media files from File Explorer directly into the Media panel or onto the Timeline.
- Click the Shared Media folder from the file tree on the left, and then click the Import media to start option on the main display.
- Double-click an empty space while clicked onto a Shared Media folder to import media files.
- Drag media files from File Explorer directly into the Media panel while selecting a Shared Media folder.
- While on the Media panel, Click Import just to the right of Project Media. This will give you the choice to Import Media File or Import a Media Folder.
- In the Add Media Files dialog, browse to and select media, or press Ctrl + click to select specific files, Shift + click to select multiple files, or click + drag around files to select multiple files.
- Press Open.
Project Media displays for only the current project. Shared Media displays for all projects.
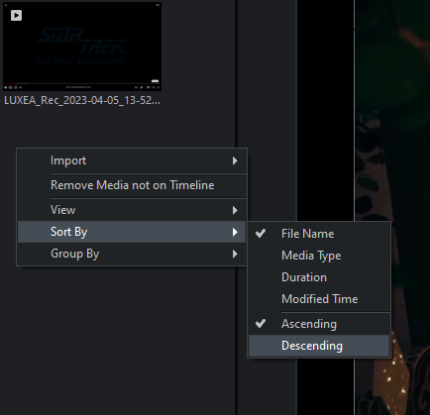
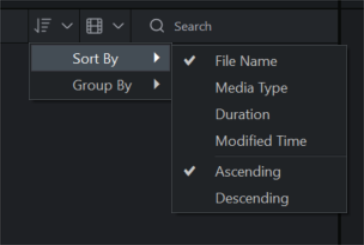
Use the Sort menu to sort added media by File Name, Duration, Media Type, or Modified Time. Right-click the workspace to access the context menu, then select Sort By or click the Sort dropdown at the top of the panel next to Search.
To add media to the Timeline, do one of the following:
- Right-click the media to be added to the Timeline.
- Select Add to New Track from the context menu. Continue this action for all media to be added. Select and drag the edge of the clip to specify the desired duration.
Or:
- Select the Media Asset to be added to the Timeline.
- Drag the Media Asset onto the desired location on the Timeline. Select and drag the edge of the clip to specify the desired duration.
Move multiple Clips from My Media to the Timeline in one step by dragging the cursor over the clips and dragging them onto the Timeline. Or, hold Shift while selecting clips, then drag the clips onto the Timeline.
The Timeline makes it easy to keep track of a video's duration at a glance. Hover the cursor over a Clip on the Timeline to see its duration data. Please note that the first five digits represent time. However, the last two digits (after the semi-colon) represent frames, rather than milliseconds. There are up to 30 frames per second.
Adding Media Using Insert, Overwrite, and Append:
Media can be added to the Timeline using the Insert, Overwrite, or Append options.
To Insert, Overwrite, or Append a clip:
- Place the Playhead on the Timeline where the clip should go.
- Select the clip to add, and right-click. Select Insert, Overwrite, or Append from the context menu. Alternatively, press , to Insert, or . to Overwrite with the selected file.
|
Option |
Description |
|
Insert |
By using Insert, your selected Media Asset will be placed on the Timeline at the Playhead and move any Media Assets that would conflict with its duration. |
|
Overwrite |
By using Overwrite, your selected Media Asset will be placed on the Timeline at the Playhead and trim any Media Assets that would conflict with its duration. |
|
Append |
By using Append, your selected Media Asset will be placed on the Timeline after any already existing Clips. |
To Remove Media from the Media Panel:
To remove media from the Media Panel, select the media in the Media Panel and click the Delete button.
To Remove all Media not Added to the Timeline from the Media Panel:
All media can be removed from the Media Panel that have not been added to the Timeline.
Right-click anywhere in the Media Panel and choose Remove Media not on Timeline from the context menu.
To Remove Media from the Timeline:
- Remove an individual Clip by right-clicking it on the Timeline and selecting Delete.
- To remove all of the Clips on the Timeline, select Edit | Remove All from Timeline from the menu, or press Ctrl + Alt + R
To Duplicate a Clip on the Timeline:
This feature is not available in LUXEA Free Video Editor. Please Upgrade to LUXEA Pro Video Editor for access to this feature and much more.
- Select a Clip on the Timeline.
- Do one of the following:
- Right-click the Clip and choose Duplicate Clip, or
- Press Ctrl + Q on your keyboard.
Locating the Source File of an Asset:
This feature is not available in LUXEA Free Video Editor. Please Upgrade to LUXEA Pro Video Editor for access to this feature and much more.
- Select a Clip on the Timeline.
- Right-click the Clip and choose Locate Asset.
Media Assets will be highlighted in your Media Panel, while Elements and Overlays will open in their respective panels.
To Play Media in the Media Panel:
Do one of the following:
- Right-click the file and select Play... from the context menu.
- Double-click a file in the Media Panel.
Press F to display the preview full screen, or press the Full Screen button. 
Choosing an Audio Track:
Video files may contain multiple embedded Audio Tracks. To choose which one to use, right-click the asset in the Media Panel, hover over Audio Track, and select a track from the dropdown. The selected track will be used when the Clip is added to the Timeline.
Editing Media in the Preview:
When media is being previewed, it can be edited before even being added to the Timeline.
To edit the media in the preview, perform the following:
- Double click a Media Asset from the Media Panel to bring it up in the preview, or select the Clip in the Timeline and change the Preview Tab from Program to Source.
- While previewing, use the tools below the preview window to make adjustments to your video.
|
Option |
Description |
|
Volume |
Use the volume slider to set the volume level of the media file being previewed. |
|
Add Marker (M) |
Apply markers at the playhead location on the Timeline for the currently previewed media file. |
|
Mark In (I) |
Apply Mark In to place a starting point marker on the Timeline of your currently previewed media file. |
|
Mark Out (O) |
Apply Mark Out to place an ending point marker on the Timeline of your currently previewed media file. |
|
Play In to Out (Ctrl + Shift + Space) |
Start playing from the In Mark to the Out Mark only. |
|
Go to Mark In (Shift + I) |
Go directly to the Mark In point. |
|
Previous Frame (Left Arrow) |
Go back one frame. |
|
Play/Pause (Space) |
Play or Pause the media file. |
|
Next Frame (Right Arrow) |
Go forward one frame. |
|
Go to Mark Out (Shift + O) |
Go directly to the Mark Out point. |
|
Insert (,) |
Inserts the currently previewed media file into the project Timeline at the playhead location. If you have marked an In and an Out on the media file, only the In to Out duration will be inserted. |
|
Overwrite (.) |
Takes the currently previewed media file and overwrites any media in the selected track on the project Timeline with the previewed media file. If you have marked an In and an Out on the media file, only the In to Out duration will be applied. |
|
Snapshot (Shift + S) |
Snapshot will take a screenshot of the current frame displayed in the preview. |
|
Full Screen (F) |
Toggles between normal display and Full Screen. |