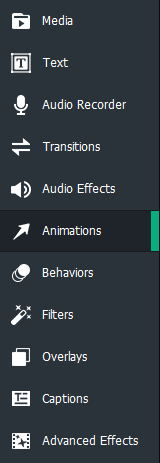
woAnimations
Animations transition media properties from one state to another by selecting pre-made animations or creating custom animations. Custom animations are used to control which visual properties are transformed, such as blend mode, opacity, rotation, position, and size. Restore animation is used to restore media to its previous settings prior to any applied animations. Animations can also be added to text and used for editing size.
To add animations to media:
- With clips added to the Timeline, select the Animations tab, or press A.
- Drag an animation to a desired location on a clip residing on the Timeline. The animation will appear as an arrow on the clip. Control the duration of the animation by dragging the arrow right or left. Media to the right of the animation arrow will remain in this new state unless a Restore animation or another animation is added.

To restore media:
- After an animation has altered the visual properties of a clip, drag a Restore animation to a location to the right of the animation. The destination will be the location where the visual properties are to be restored.
- The Restore animation will appear as an arrow on the clip. Control the duration of the Restore animation by dragging the arrow right or left. To the right of the Restore animation, the pre-animation settings will be restored.
To add custom animations to media:
- With clips added to the Timeline, select the Animations tab, or press A.
- Drag a Custom animation to a desired location on a clip on the Timeline. The animation will appear as an arrow on the clip. Control the duration of the animation by dragging the arrow right or left.
- Place the Playhead to the right of the Custom animation.
- Click the Properties button.

- Configure the visual properties for the media's end state, which include properties such as blend mode, opacity, rotation, and position.
- To change the visual properties of media prior to the animation, place the Playhead to the left of the custom animation and customize the settings in the Properties pane.

To add animations to text and edit their sizing:
- With clips added to the Timeline, select the Text tab, or press T to see a list of Text Styles.
- Select a Text Style and drag it to the desired location on the Timeline. Or, right-click the Text Style and click Apply or press Alt + A.
- In the resultant text box, edit the text displayed and its style. On the right-hand side, change the font, color, size, style, Text Effects, direction, and alignment.
- After the text has been finalized, select the Animations tab, or press A.
- Drag the desired animation onto the text residing on the Timeline. The animation will appear as an arrow on the clip. Control the duration of the animation by dragging the arrow right or left. Media to the right of the animation arrow will remain in this new state unless a Restore animation or another animation is added.
- At either the start or end of the arrow, use the text bounding box to set the scale of the text for the animation. To do this, click the edges of the bounding box and drag in or out to scale the box.